Reviewed October 3, 2026 · Chart-pattern education
A pattern target, an entry price and an exit assumption are three different numbers. Keep them separate.
This original case study uses a $50 resistance level and invented fills to explain the arithmetic. It is an educational scenario, not an observed trade, backtest or recommended position.
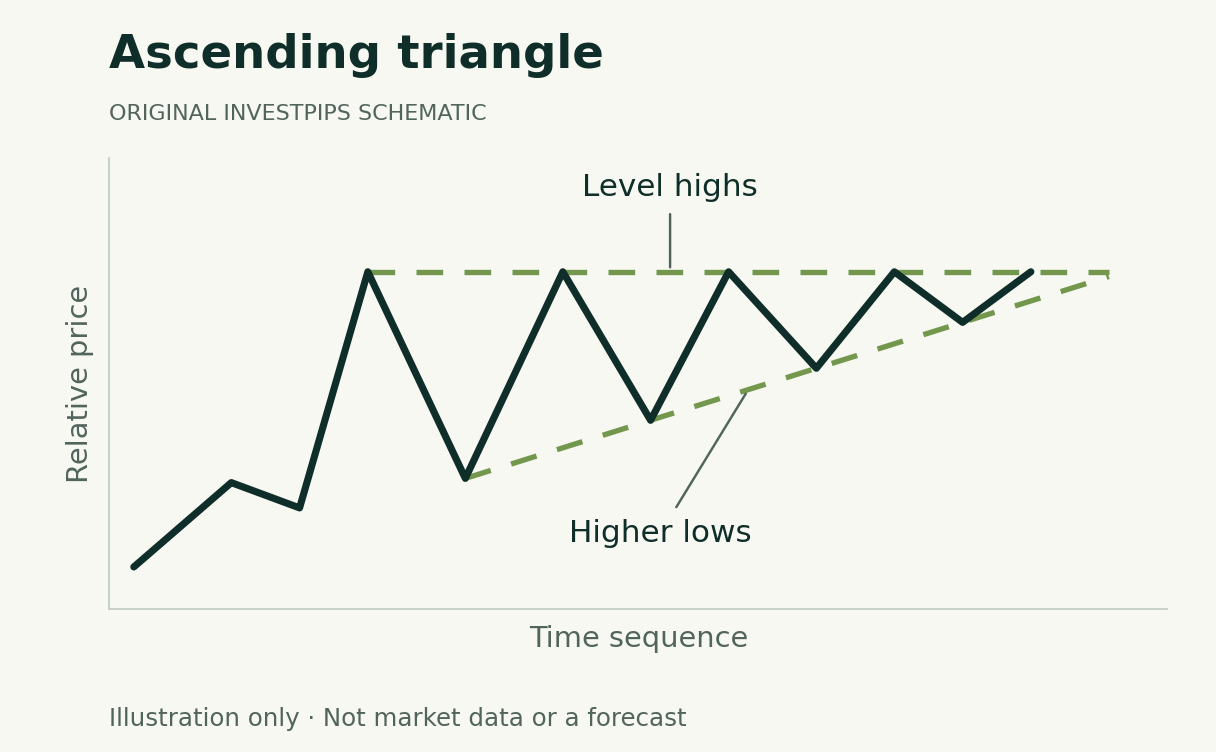
The selected $50 high and $44 low define the illustrative range.
The assumed $51 entry and $48 exit define a different distance.
Write down the invented setup
Assume a fictional share has repeated highs near $50 and rising lows beginning at $44. Those are teaching inputs, not a historical quote series. The definition guide explains how the geometry is recognized; this page focuses on what the numbers mean after a hypothetical break.
Scroll across the table to see all columns.
| Input | Assumption |
|---|---|
| Reference resistance | $50 |
| Lowest selected low | $44 |
| Pattern height | $50 − $44 = $6 |
| Conventional measured objective | $50 + $6 = $56 |
| Assumed entry | $51 |
| Assumed exit if the idea fails | $48 |
| Illustrative quantity | 50 shares |
The measured objective is a charting convention described in StockCharts’ ascending-triangle guide. It is not a promise that $56 will trade, or that an order there will fill. The entry, exit and quantity here are independent assumptions, not recommended settings.
Calculate from the assumed entry, not the drawing
Scroll across the table to see all columns.
| Calculation | Per share | For 50 shares |
|---|---|---|
| Entry to assumed exit | $51 − $48 = $3 | $150 |
| Entry to measured objective | $56 − $51 = $5 | $250 |
| Position cost at entry | $51 | $2,550 |
The projected reward-to-planned-risk ratio is $5 ÷ $3 ≈ 1.67 to 1, before costs. The $6 pattern height is not the assumed trade’s $5 upside. Confusing those numbers overstates the opportunity in this particular illustration.
A ratio describes two chosen distances. It does not supply the probability of either outcome, account for the path between them or establish positive expected value. No success probability is assigned to this setup.
A planned $150 loss is not a hard ceiling
Scroll across the table to see all columns.
| Scenario | Assumed exit fill | Gross result on 50 shares |
|---|---|---|
| Measured objective reached and filled | $56 | +$250 |
| Exit fills at the planned level | $48 | −$150 |
| Gap leads to a worse exit fill | $46 | −$250 |
For the third row, ($46 − $51) × 50 = −$250. Each row assumes a full fill at its stated price and excludes fees, spread effects already embedded in fills, and other costs. These are alternative examples, not probabilities or an exhaustive range of outcomes.
FINRA’s stop-order guidance explains why a stop-market trigger does not guarantee the fill price and why a stop-limit order may remain unfilled. Position-size arithmetic cannot turn an assumed exit into execution protection.
Record the rules before revealing the next bar
- Completion. What exact price observation qualifies as a break of $50, and when is it available?
- Entry. Which order could produce the assumed $51 fill? What happens if the market gaps past it?
- Failure. Why was $48 chosen, and is the condition checked intrabar or at a close?
- Exit at the objective. What order and liquidity assumptions would permit the $56 fill?
- Unresolved cases. What happens if neither exit condition occurs within the study window?
Change an assumption, recalculate the case
If the entry were $53 while the other levels stayed fixed, the projected upside would be $3 and the planned downside $5 per share: a ratio of 0.6 to 1. The same drawn triangle would describe a very different proposed trade.
Use the InvestPips position-size tool to explore stated assumptions, then use the research framework if you want to evaluate an actual rule. Neither a calculation nor a paper example validates a strategy.
Continue learning
Review the pattern definition · Build a reproducible test · Explore the pattern library
Sources and method
Substantively reviewed October 3, 2026. Diagrams and numerical examples are original, synthetic teaching material. They do not reproduce a security’s trading history, a backtest or a validated strategy. Pattern names describe charting conventions; this article assigns no success probability.
Primary references: StockCharts measured-move convention; FINRA stop-order execution risks.
Advertising is separate from this guide. Read our editorial and advertising standards.
What changed in this update
Replaced a second general ascending-triangle article with a distinct worked case study. Removed unsupported success claims and added checked risk, ratio and gap-loss calculations. The original URL and publication date are preserved.
Educational information, not personalized investment advice or a recommendation to trade. A diagram or measured-move projection does not guarantee an outcome.